How to set-up Webmin on Ubuntu 16.04 LTS Server
Published By: Andrew Schwartz
This is a step-by-step installation tutorial for Webmin on Ubuntu 16.04 LTS (server). Webmin is an administrative control panel for servers or virtual servers built through a web based GUI interface with immense system-wide capabilities. It can be used to setup user accounts, Apache, iptables, dns, update management, file editing/sharing, and many more functions. It's also suitable for beginners who want to run an experimental server at home or for hosting websites on a VPS if you’re not familiar with Unix or the Linux terminal.
You should have a basic knowledge of Linux before following in this guide, including basic use of the terminal. We're assuming you are running Ubuntu 16.04 LTS (server) but may work for additional releases. If you don’t have it already setup, you’ll need a computer or VirtualBox Image of Ubuntu Server. This tutorial is meant to be as simple as possible and assumes you are running in a user account with Admin privileges (root). If you're already in the root account, you may not need to add "sudo su" to the commands to get superuser (root) privileges. Now that we've got that out of the way, we can begin!
Downloading the Key
First you're going to elevate your terminal, or use root access, then add the certificate (key) to aptitude for Webmin with the following commands (they're highlighted in the image):
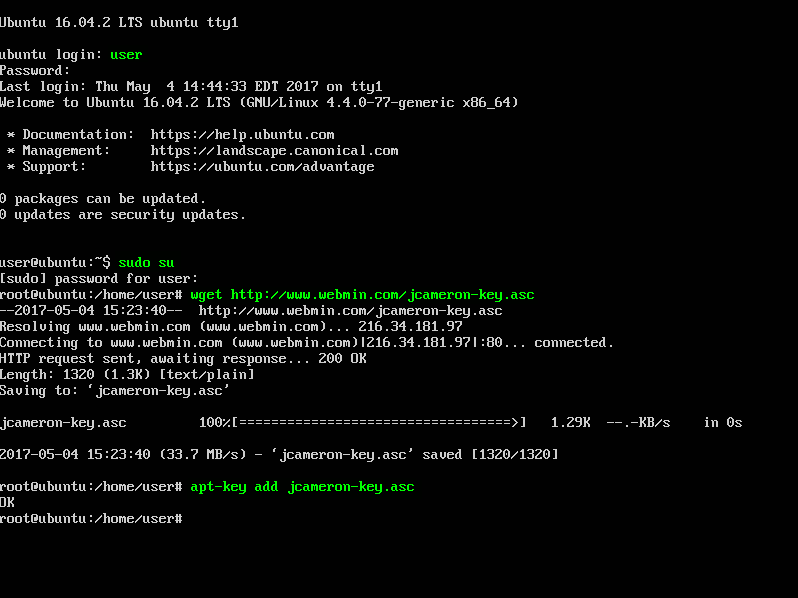
sudo su
get http://www.webmin.com/jcameron-key.asc
apt-key add jcameron-key.asc
Adding the Sources to apt
Next you need to edit the sources file. This will tell Ubuntu to check this newly added source and add any updates. We're going to open up the file with nano, a little command line text editor, and then add the sources to the bottom of the file.
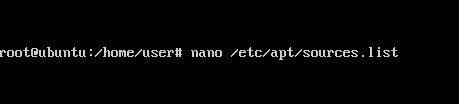
nano /etc/apt/sources.list
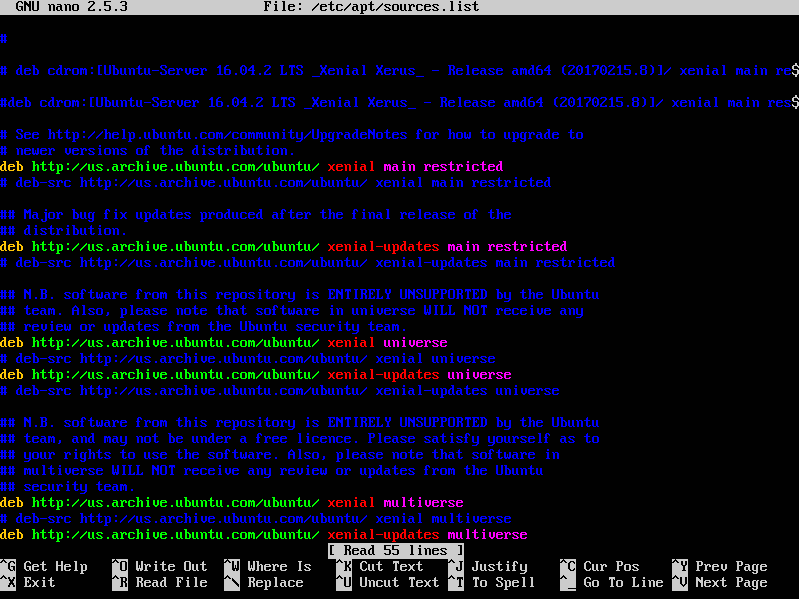
Once you open the file, you'll see the screen below exactly as pictured. This is the file open in nano: the controls are located at the bottom of the screen. You'll only really need Control+O to save and Control+X to exit. For now, just scroll all the way down.
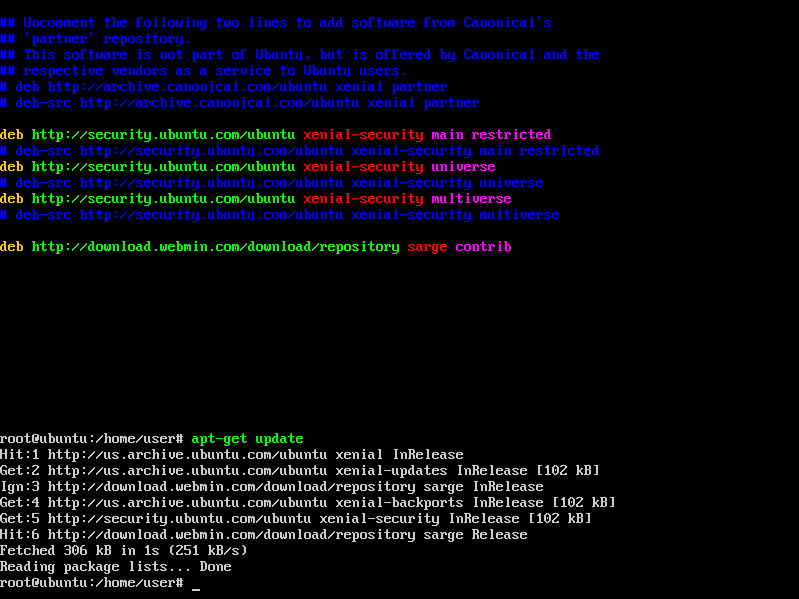
Then, when you're at the bottom, add the sources just like pictured below. You'll have to type it in by hand, so be careful.
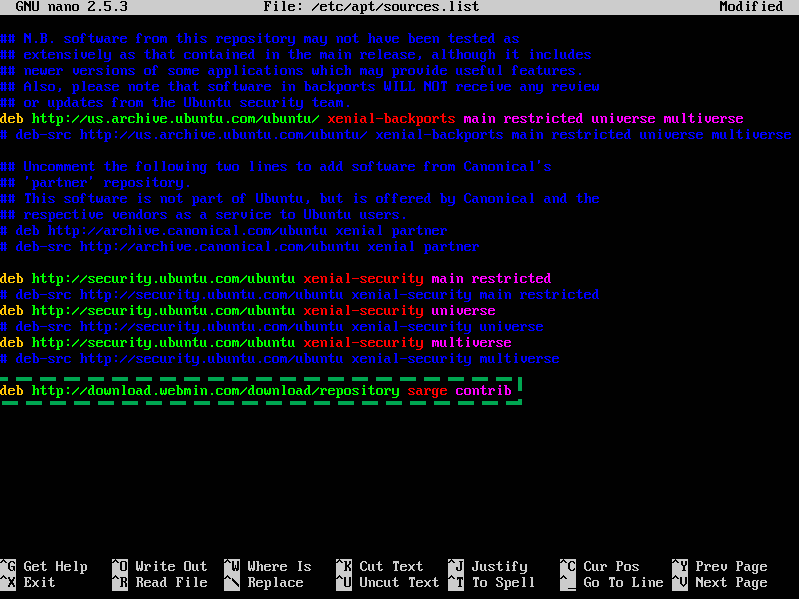
Add the following lines to add the new source:
deb http://download.webmin.com/download/repository sarge contrib
Once entered, press Control+O and then "y" and "enter" to save. Next press Control+X to exit. You can reference the sequence below if necessary.
Updating Sources & Installing
Now we must update our system sources so it knows where to fetch Webmin from (on the internet) when we tell it to install. Use the following commands below to complete the install.
apt-get update
apt-get install webmin
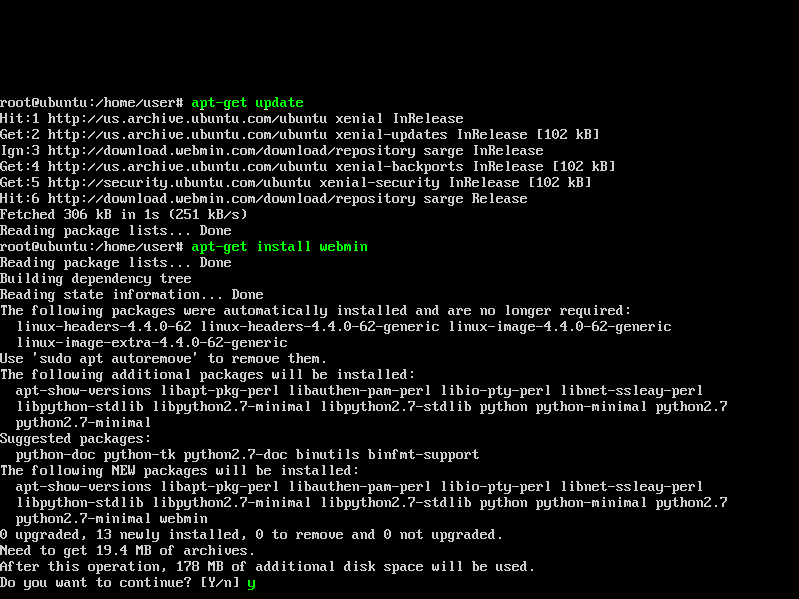
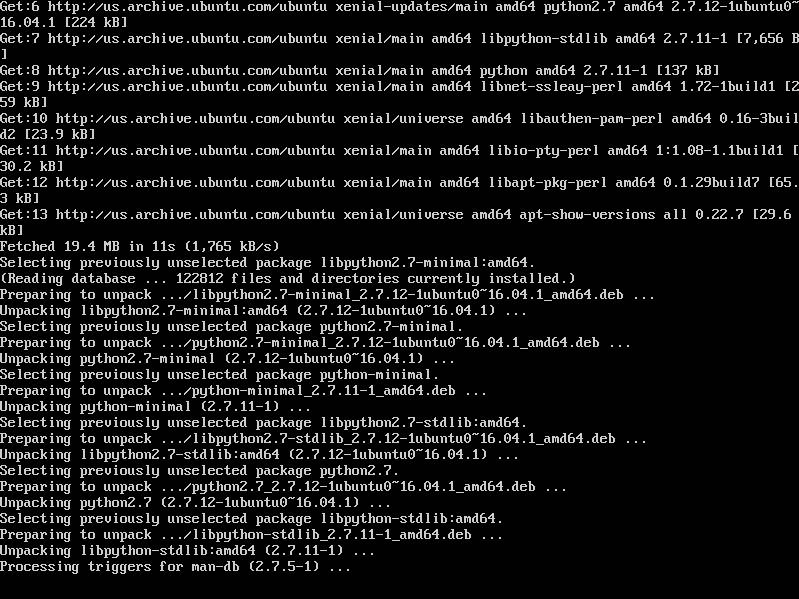
Enter "y" to accept the install and begin. From this point, we'll see some a few things download and install. Once the install is finished, you've successfully setup Webmin on Ubuntu Server 16.04!
Now that Webmin is installed, we can access it from another computer and begin making changes on our web-server. We may need to find out out IP address first to gain access. Type the command below into the terminal and you'll see you IP address in the same place as highlighted in the images below, it is 192.168.0.24 on me setup.
ifconfig
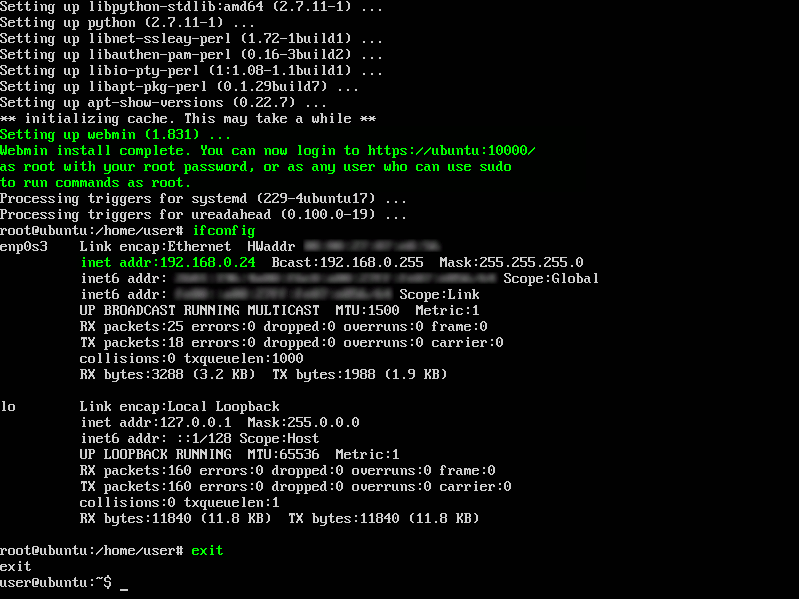
Finally, we can exit our elevated terminal by simply typing "exit."
exit
Completion
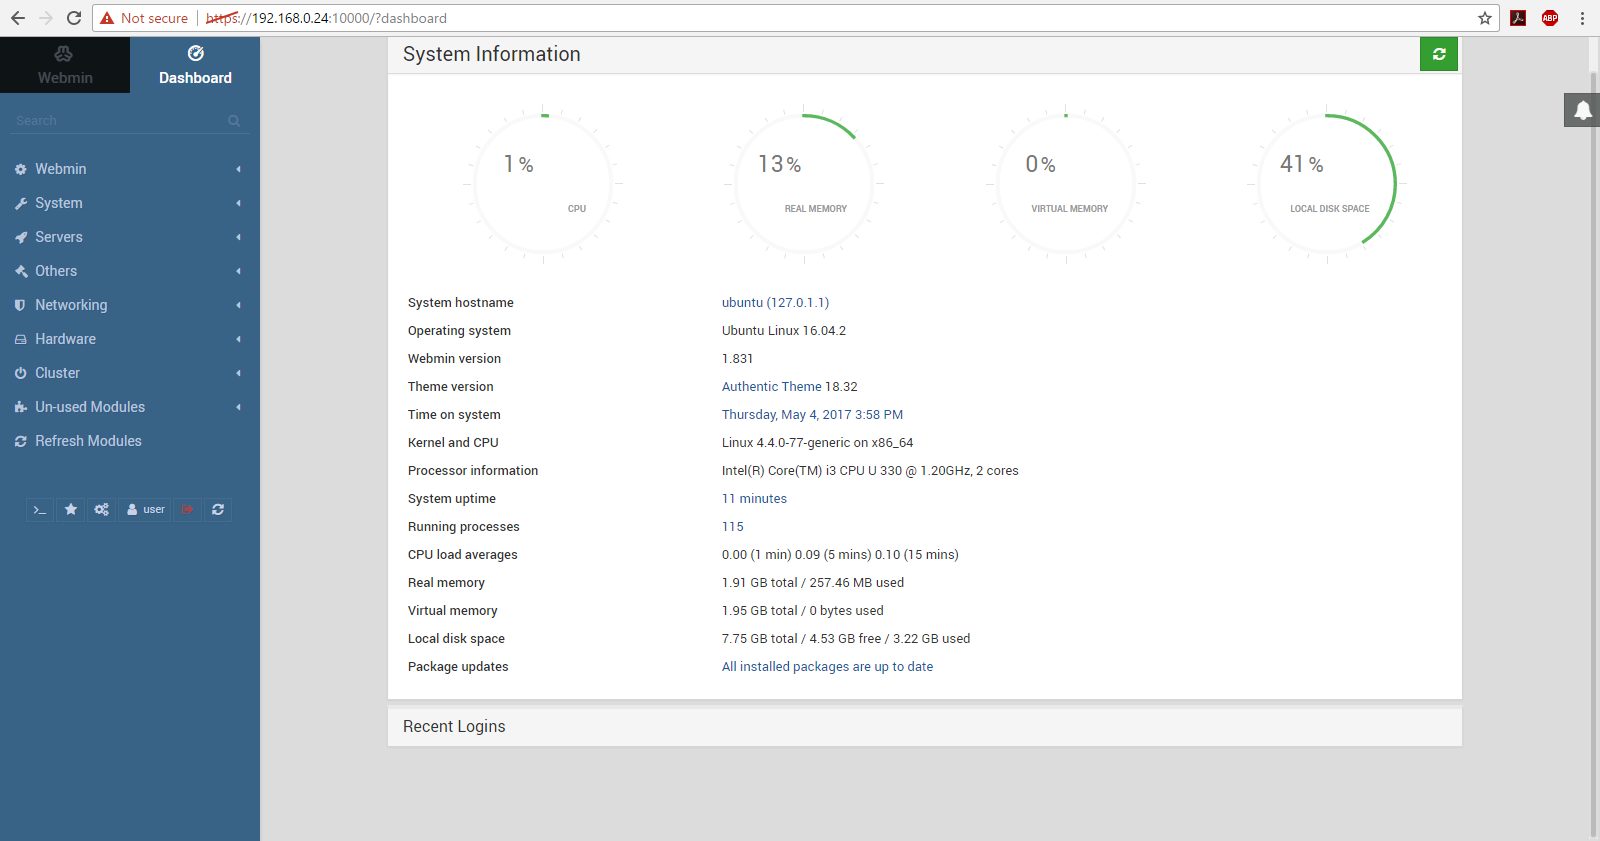
Webmin tells us that we can gain access through https://ubuntu:10000/. However, we really need our internal network address or "inet addr." This means you actually gain access through **https://internal-ip-address:10000** or for me: https://192.168.0.24:10000. Don't forget the "s" in "http" or you'll need to navigate to https.

Now you can login to Webmin with your Ubuntu user account and password. Once you land on your dashboard with system stats, you can begin exploring. Webmin is a powerful tool, so you may want to begin looking into securing your system and changing the default login port from 10000.
If you are having any trouble accessing webmin or you need to make a firewall exception for your services, Webmin uses port 10,000. You may need to add an exception to your firewall or change the port altogether. If it’s a fresh install of ubuntu server, there should be no problems.
Thanks for joining us for this tutorial! For more like this, check out the rest of our blog or follow us on social media for updates!