Andrew Schwartz / 2017-04-21 / 4 min read
How to install Ubuntu Server 16.04 LTS on an old computer
This is a quick step-by-step tutorial on how to install Ubuntu Server on an old PC. This can be an easy way to have a network-attached...
This is a quick step-by-step tutorial on how to install Ubuntu Server on an old PC. This can be an easy way to have a network-attached storage device at home, run a website, build a media center, host an email server, run online games, and much more. In fact, Linux servers are used to power over 80% of the internet!
Ubuntu hardware Requirements
To get started, you’re going to need a computer with about 512MB of ram or more and a Pentium 4, or newer, processor. Although, if you’re going to do anything interesting, I’d recommend at least 4GB of ram. Note that we’re going to wipe the hard drive so be sure to save anything you may need on the computer- once this is done it will be gone FOREVER (you can also run this with VirtualBox to avoid losing any data). ***Make Directory is not responsible for any damage done to any computers, if you are worried about data please do a full backup.
Setting up a USB installation disk (CD-ROM will work too)
You’ll need to download and burn the ISO file, which you can find it here. I’d suggest a 2GB+ flash drive for this.
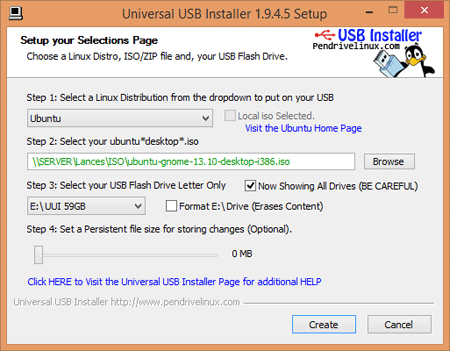
Download PenDrive Linux here. Once you launch the application, follow the on-screen instructions to create a bootable USB install disk.
Booting from the USB & Basic Setup
Shut down your OLD computer and insert the USB. Now it’s time to install Ubuntu Server! You may need to manually select the startup disk (try pressing F2, F10, or F12 on the bios).
Select the USB disk and follow the on-screen instructions. Once it’s done loading, you’ll be asked a few questions like your language, region, keyboard detection, and time zone. I’m sure you can figure this out (just press enter).
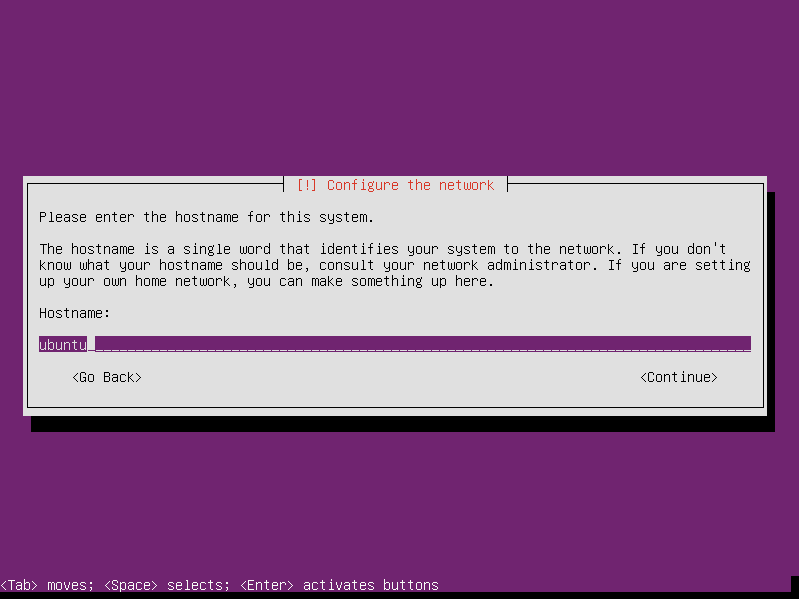
Hostname & User
Next is hostname, which doesn’t matter unless you’re broadcasting over the internet. I used “Ubuntu” for this. You can use whatever you like if you are just going to be using this as a home server, just remember what it is, you may need it eventually.
Then we input our user information. I’m using the full name of “User”, login of “user”, and a password of “test.” This is Linux, so we do need a password.
As we won’t have any vital information on this computer anyway, we can choose to NOT encrypt our home directly. Then, select your time zone, if the correct one isn't displayed on the next screen.
Partitioning the disk
The install will start the partitioning process. You can just choose “Guided – use entire disk.” If you know what you are doing, you can enter the manual setup. Ultimately you’ll only need a / (root) directory and a swap partition, but you can have more mount points. You can find more information here. If you don’t know what this means, please use the guided setup.
**Note, if you’re setting this up in VirtualBox, you’ll need to specify a partition size prior to setup.
Write the changes to the disk, the formatting process will begin. Next, the installer will begin copying data.
Updating & Packages
You’ll be asked for a proxy if you’re using one (you're probably not). Next, choose to “install security updates automatically."
Then on the next screen, select your packages.
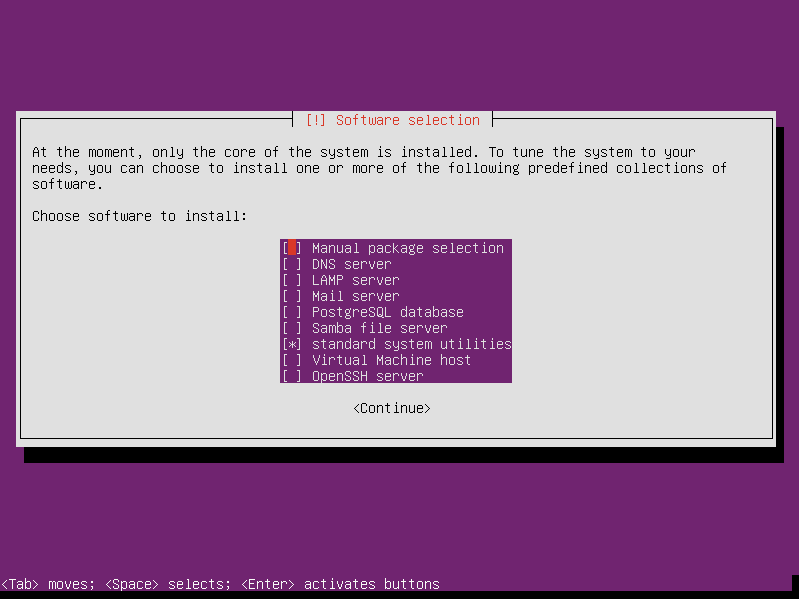
You select each option with the spacebar, and then press enter when you’re ready. For this tutorial, we won’t install any additional packages so you can just hit enter and finish the installation.
Finally, the install will finish up with the bootloader. This takes the computer from the bios to the operating system. You’ll need to select “Yes” as you need this to start the OS.
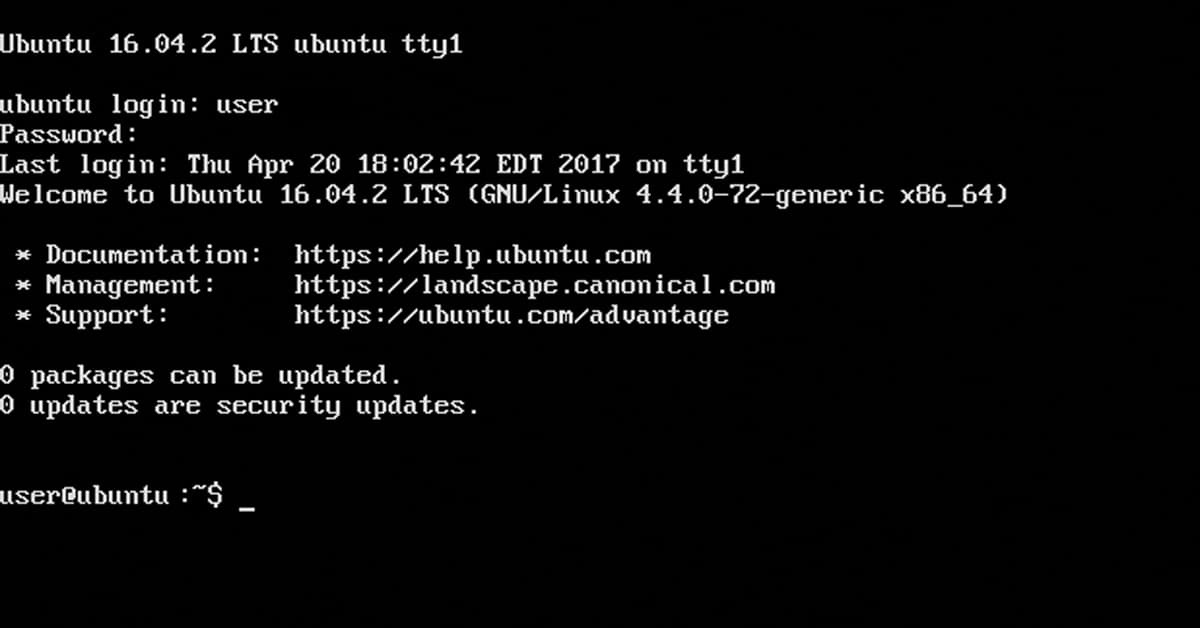
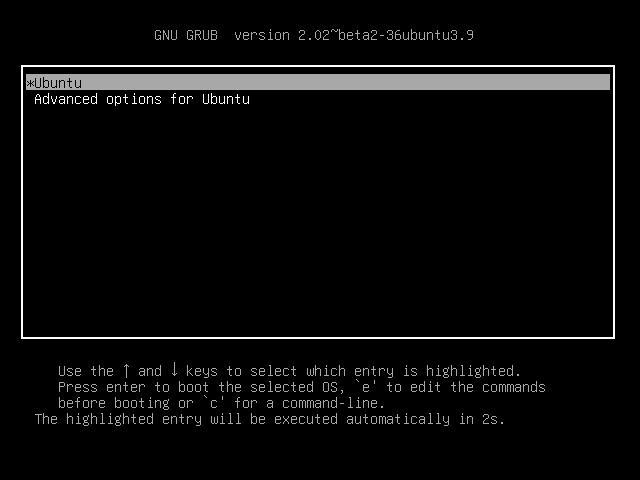
Then we can remove the installation media and reboot. You'll see this screen when you are booting up, just press enter.
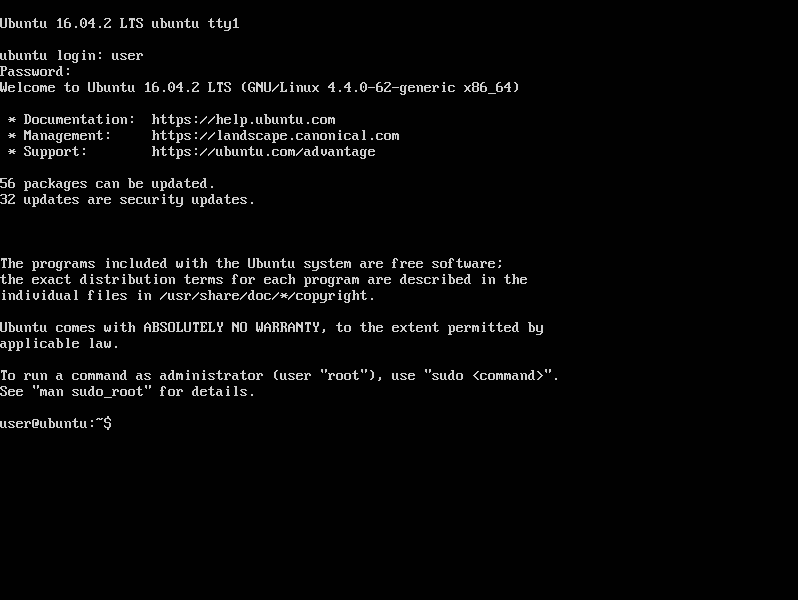
Login with your username and password and you’re done. Congrats, you just installed Ubuntu Server! You can see from the screenshot below that there are 56 package updates and 32 security updates, you can quickly use the command below to update the system.
sudo apt-get update && sudo apt-get dist-upgrade
For more tutorials like this, follow us on social media to get our latest updates!

Andrew is the head of operations at Make Directory Developers and possesses a profound enthusiasm for computing and technology, coupled with a strong inclination towards problem-solving.