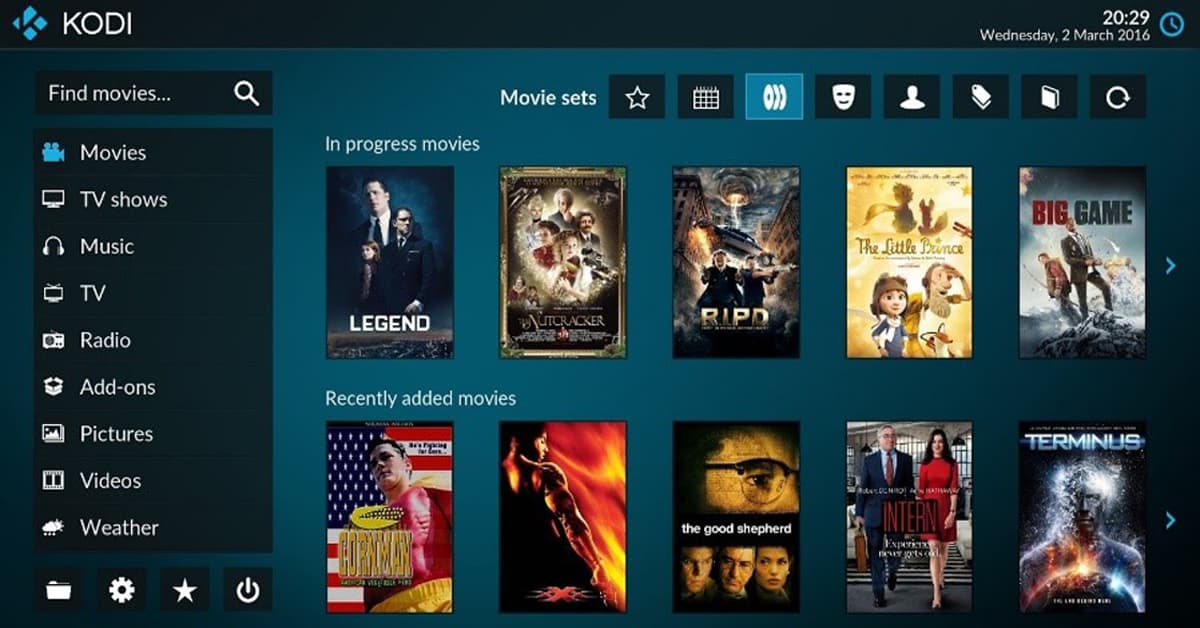
How to install Kodi Media Player on an old computer using Ubuntu Server
Published By: Andrew Schwartz
Kodi is the same program used on all those “hacked” Kindle Fire Sticks. I won’t be showing you how to get free unlimited movie and tv access (although you can Google this on your own). This is ideal for anybody who likes to watch movies, or who wants a media player machine but does not have a machine powerful enough to run two Window Managers or Virtual Machine. Please note, we are not responsible for any damage done to your computer! Use an OLD computer and be sure to save any data you have stored on the machine.
Ubuntu Server
First, we need to install Ubuntu server, we used 16.04 LTS for this tutorial: you can find our instructions here. We are going to wipe the hard drive, so be sure to save anything you may need on the computer. 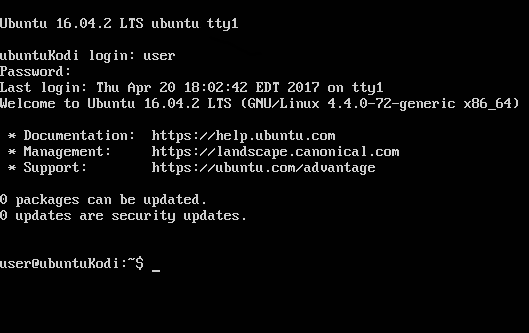 Once this is done it will be gone FOREVER (you can also run this inside VirtualBox to avoid losing any data).
Once Ubuntu Server is installed, it’s time to make a few changes and install Kodi. With this install, we are assuming you have a generic legacy system. Because this install requires setting up a GUI, your package needs may be slightly different. For this reason, this install just installs all drivers needed, plus a few extra.
Once we boot up our Ubuntu server, you’ll need to login with the username and password you used when you downloaded Ubuntu.
Elevated Terminal (Super User)
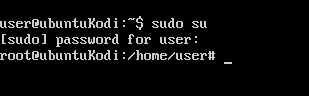
We’re going to get some updates just to make sure the system is up-to-date. There are two commands, and a few more you can look up on your own time. First we can either run an elevated terminal or use “sudo” in front of each command. For this tutorial, I will use “sudo su” and enter in my password to run an elevated terminal.
Updating the System
Use “apt-get update” to grab all the updates, then “ apt-get upgrade” to install. If you’re extremely out of date or need to upgrade to kernel, use “ apt-get dist-upgrade” and reboot.
Installing Software
We should now be completely up-to-date. Next, assuming you’re plugged into a router with DHCP preconfigured, we’ll begin installing our dependencies. For this, use the command:
apt-get install python-software-properties pkg-config software-properties-common ssh upower xorg alsa-utils mesa-utils git-core lirc libmad0 lm-sensors libmpeg2-4 avahi-daemon consolekit pm-utils vainfo linux-firmware
Adding the Kodi Repository & Installing
Once this is done installing, you are ready to install Kodi. Start by adding the repository to aptitude (apt) so we can install it via apt-get. Then update, and run the install. To do this, follow the commands below:
add-apt-repository ppa:team-xbmc/ppa

(OR “ppa:team-xbmc/unstable” for the newest releases)

apt-get update

apt-get install xbmc kodi xinit xserver-xorg-video-intel
Adding a “kodi” User & Adding Privileges
Now that Kodi is installed, we can add a user for Kodi. We need this to run X11, our basic GUI framework. Add the user “kodi” with no password below:
adduser --disabled-password --disabled-login --gecos "" kodi
At this point Kodi is installed and almost ready to use. We need to add privileges to the kodi user with the command below. If you don’t have a CD-ROM, remove “cdrom” from the command below.
sudo usermod -a -G cdrom,audio,video,plugdev,users,dialout,dip kodi
Next, let's update one more time.
apt-get update

apt-get upgrade
Starting Kodi
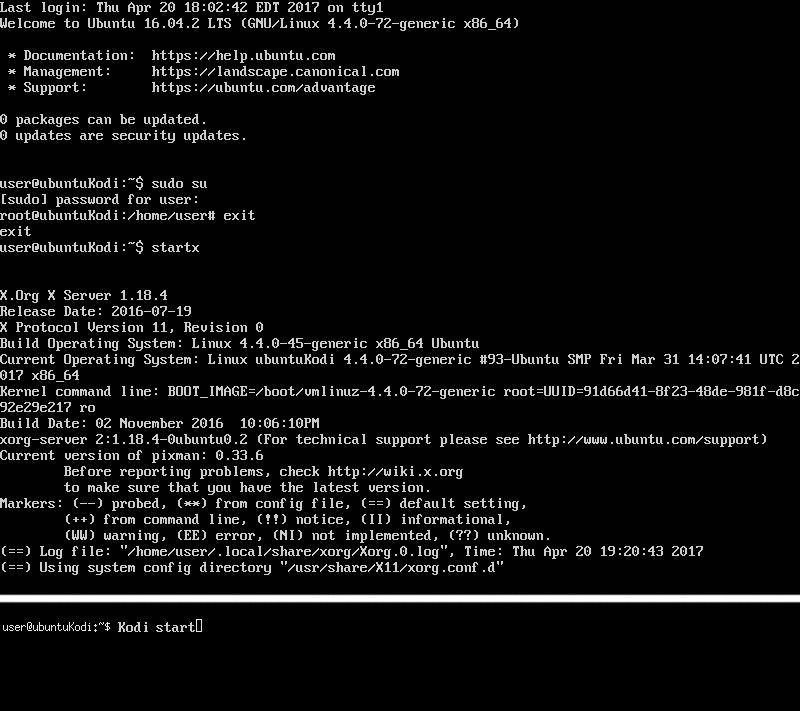
Now we can get Kodi started for the first time and because we added a new user specifically for it, we don't need to run these commands as super user. If you're still on the elevated terminal, time to exit by simply typing the command "exit" as shown below, or if you just rebooted, log back into your user account. Then enter “ startx” into the terminal to start the X11 Windows server, you'll see the screen flash and the font will change slightly.
Finally, you will run the command “ kodi start” and your new media center will boot up. You can use the mouse from here.
We’ll soon expand on this tutorial to include running Kodi as a system level service, adjusting the screen resolutions, adding additional support for displays, increasing audio/video threading priority, creating a script to automatically start X11 and kodi when the computer is booted, and allowing kodi to run elevated commands such as power off and reboot to fully control the system.
Check back soon for more tutorials, but keep up with us in the meantime on Twitter or Instagram!